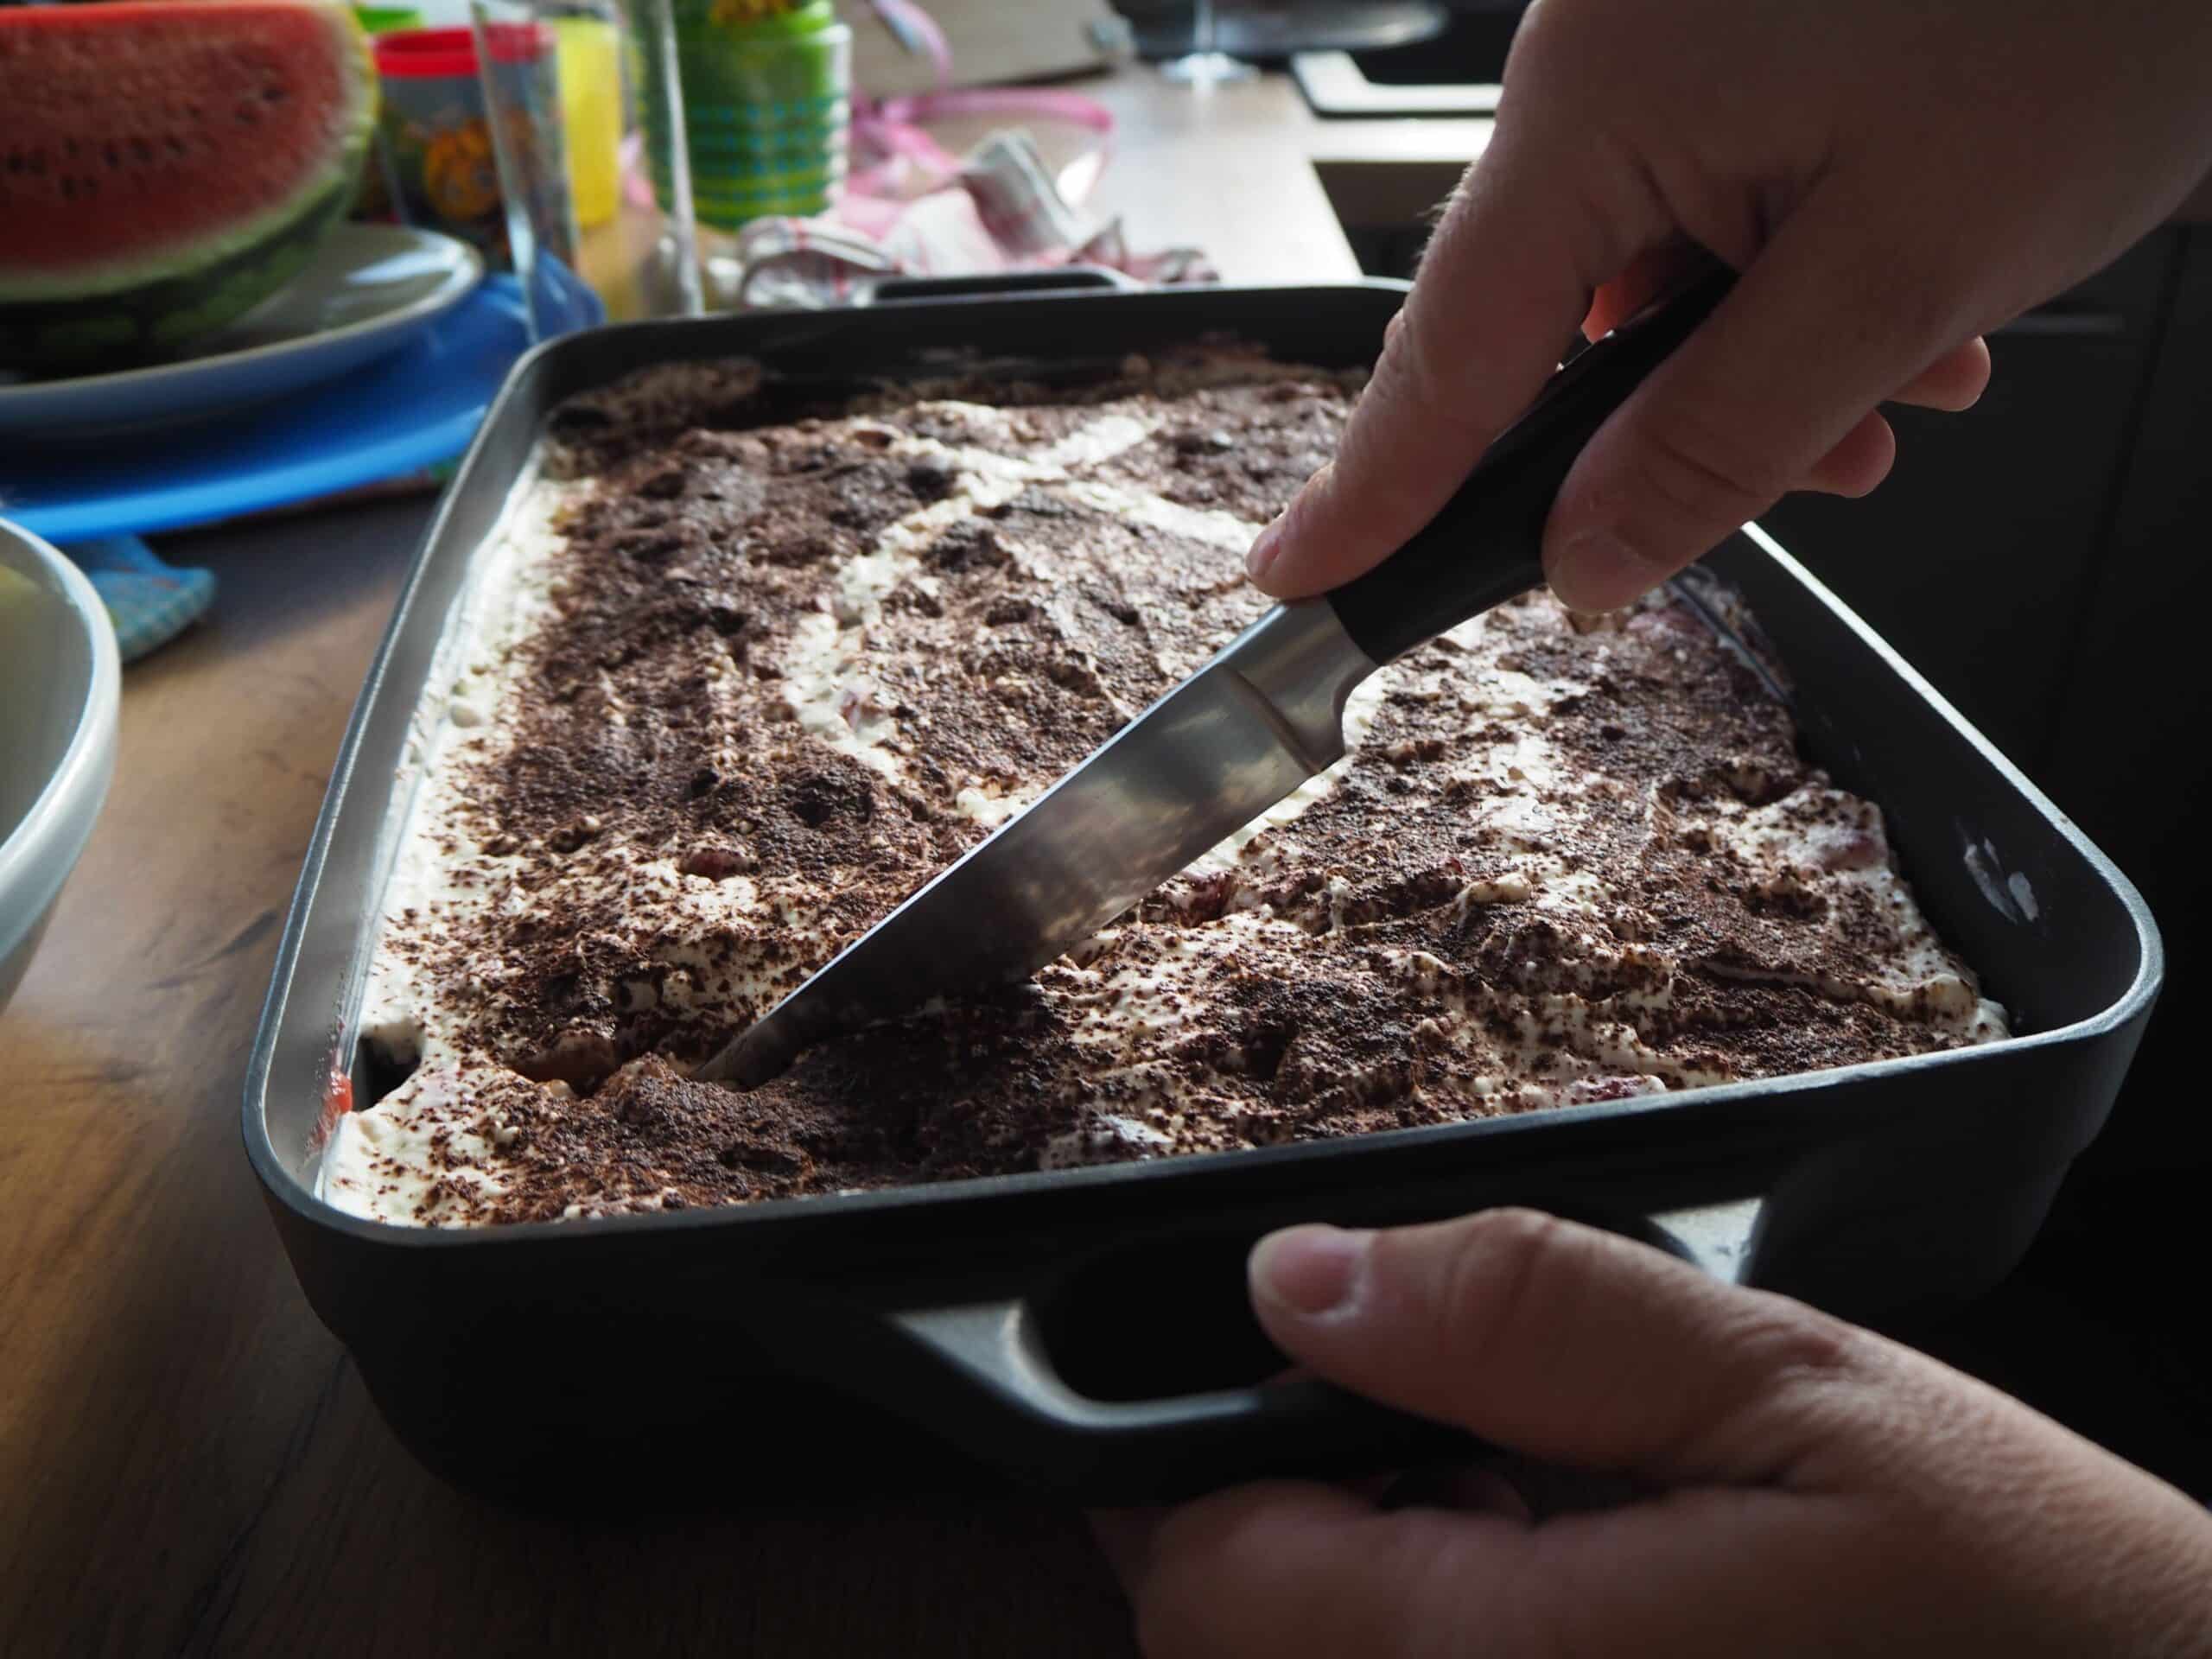
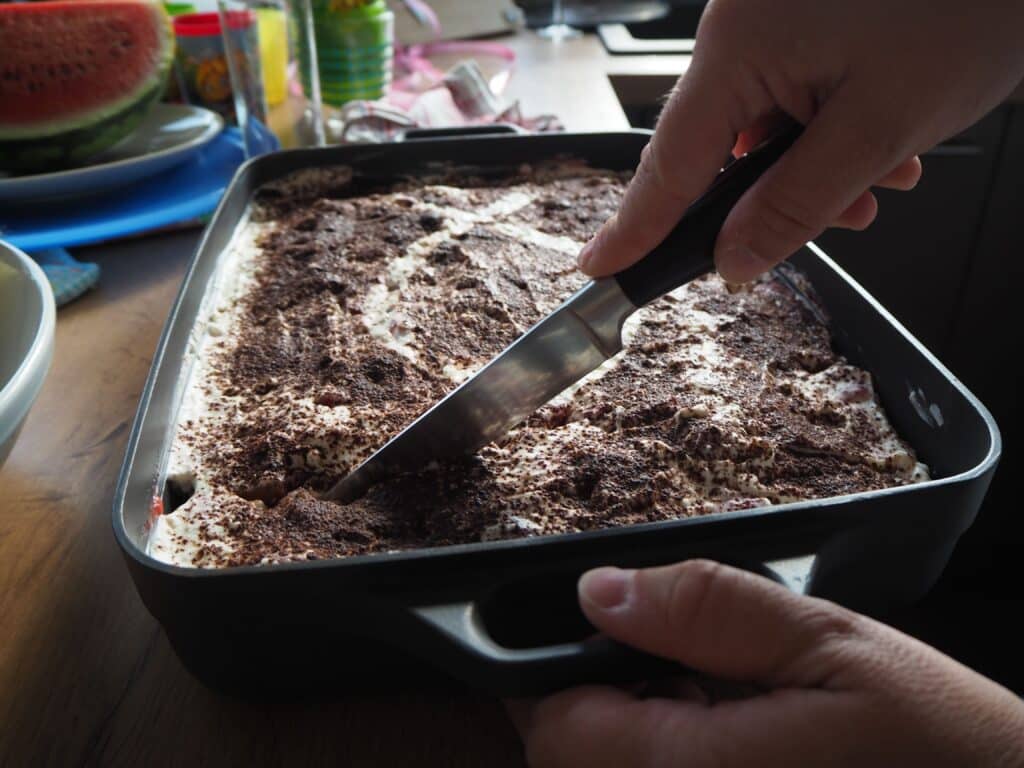
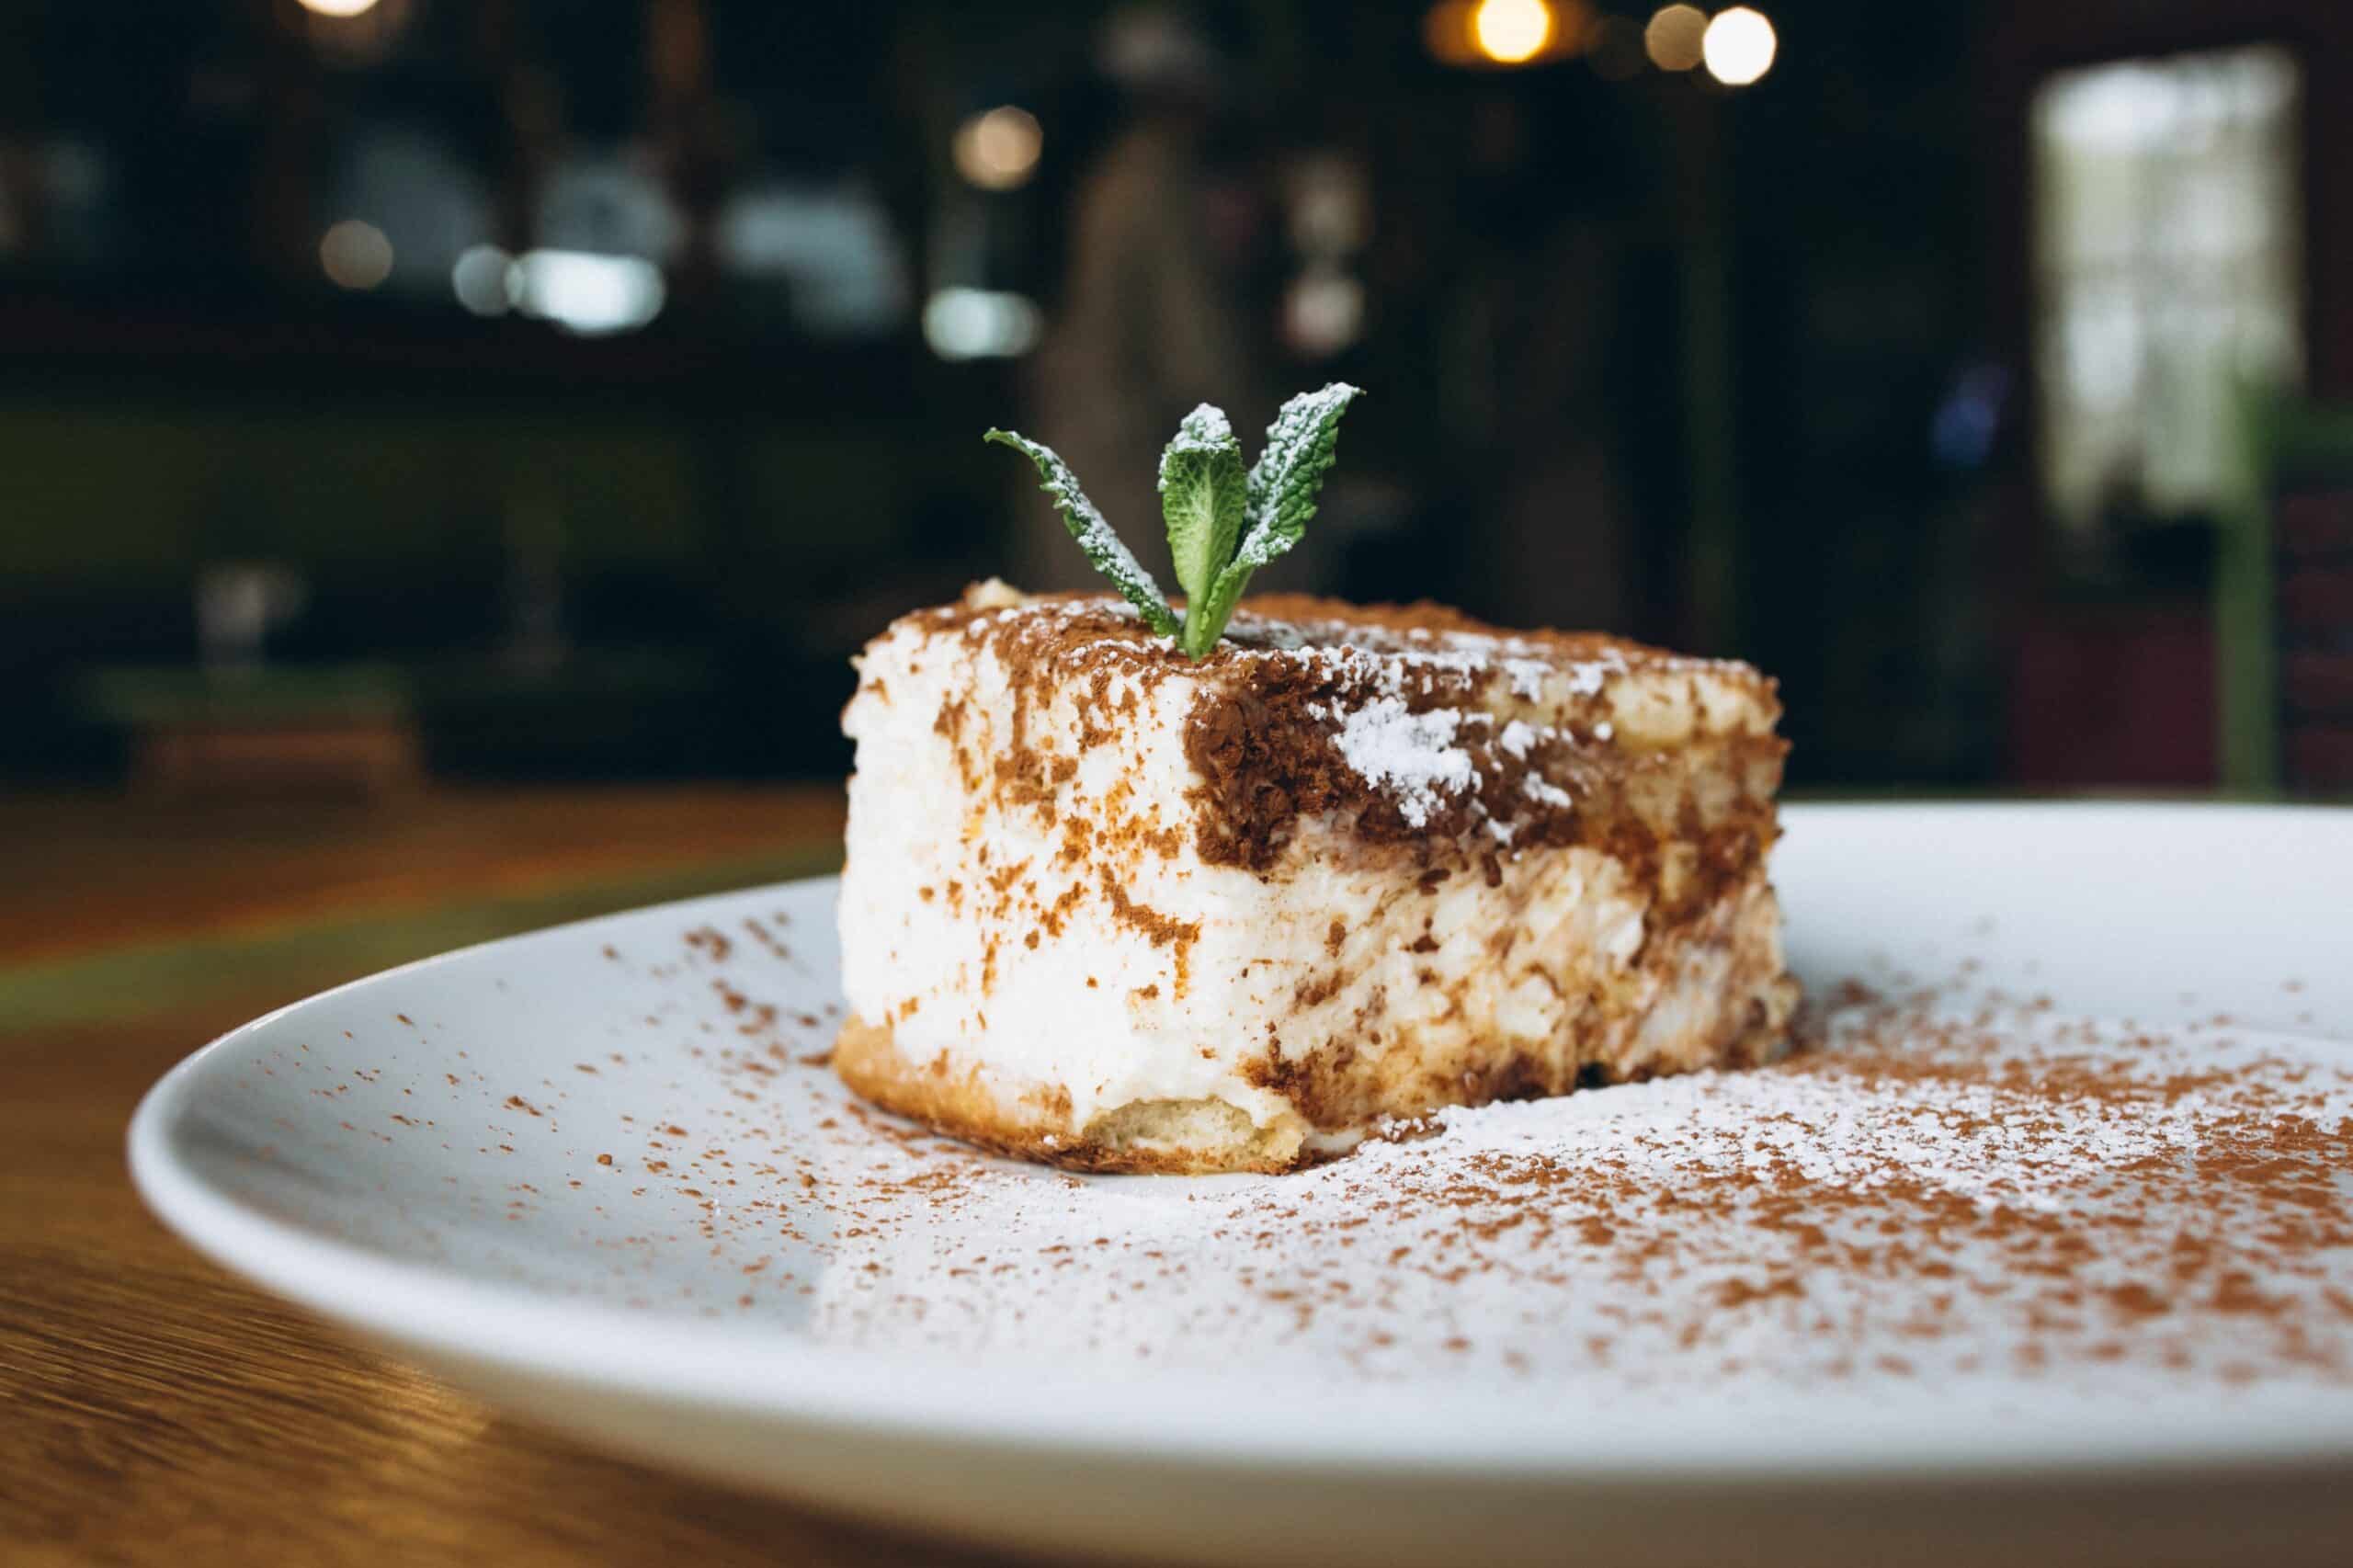
Peppermint crisp tart and try some: We show you how to make this festive dessert that is light on your palate and wallet. It’s great for the holiday or really any time you want a cold, minty treat.
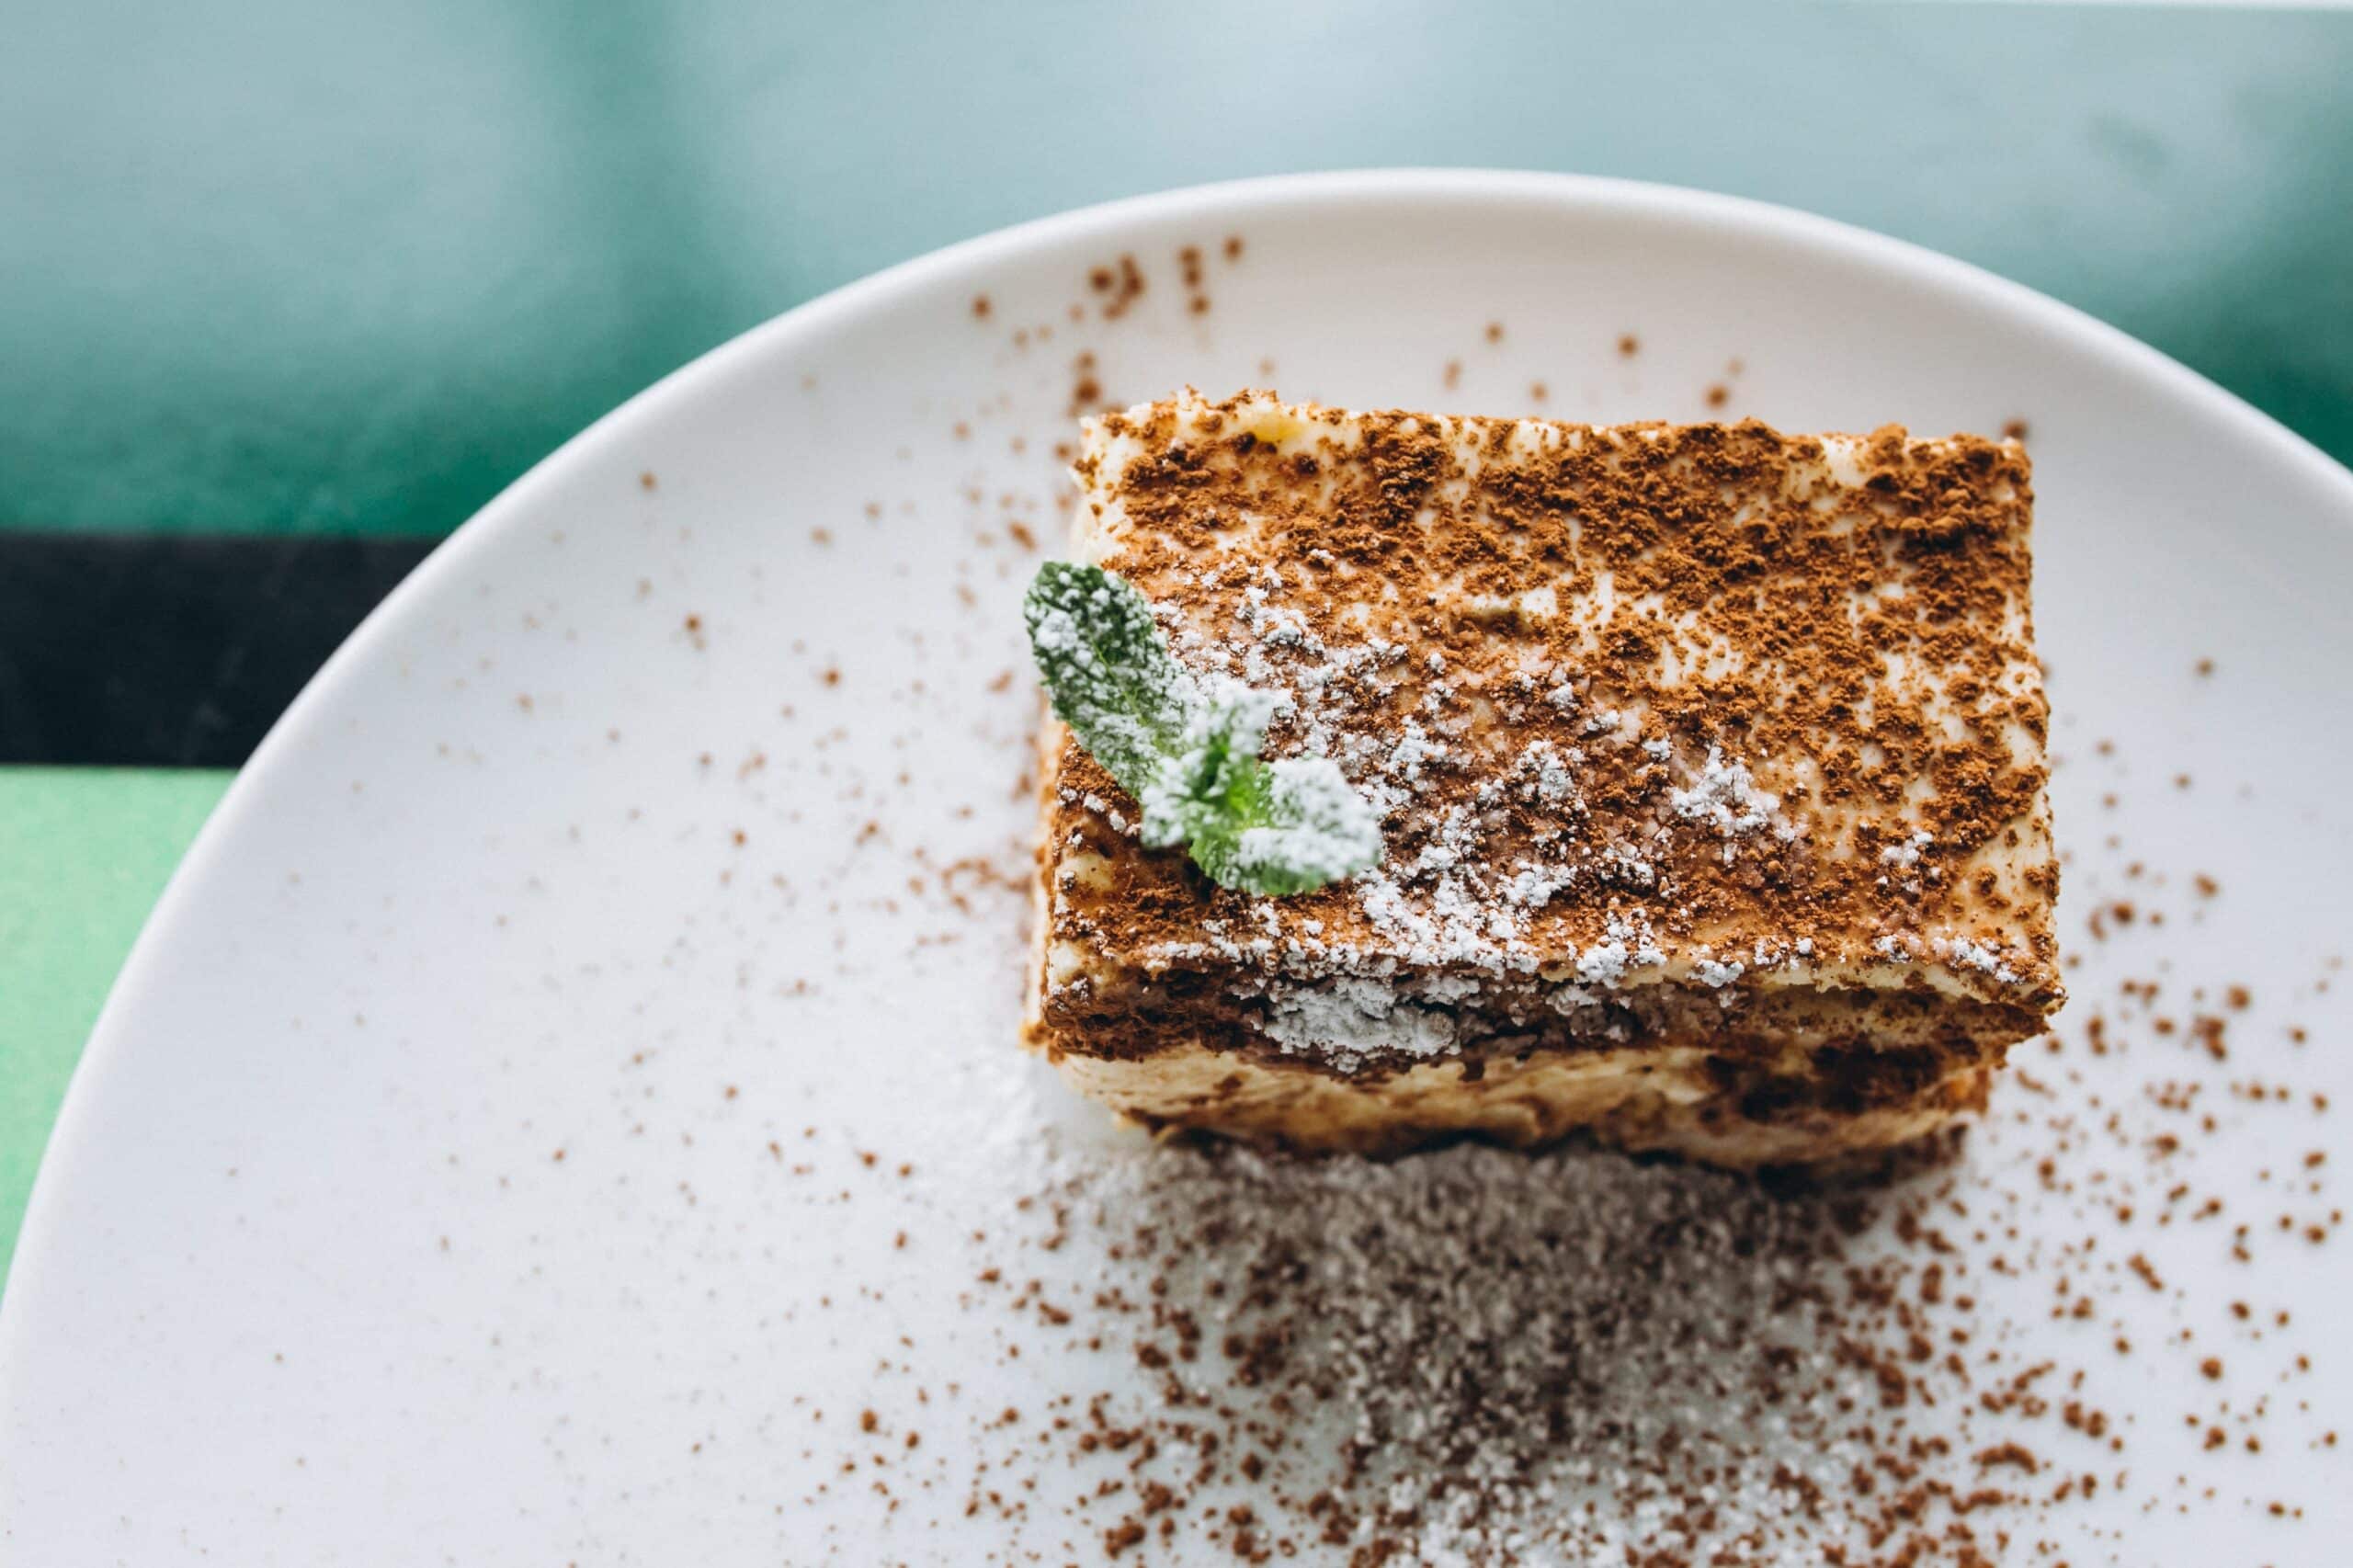
The biscuit base is buttery and crispy, the middle layer is soft white chocolate mixed with Peppermint, and it’s covered in a thin blanket of dark chocolate. This is an elegant coffeehouse dessert that has a great taste but without the fuss.
So, let’s take the step-by-step process of making this delicious peppermint tart in your home.
Peppermint Crisp Tart Health Benefits
So, as much as peppermint Tart is a punch you can have, it also has some nutritional contributions. The star ingredient, Peppermint, has peppermint crisp, tart properties that assist digestion and support common digestive conditions like bloating or indigestion. Plus, Peppermint contains antimicrobial qualities that may boost oral health.
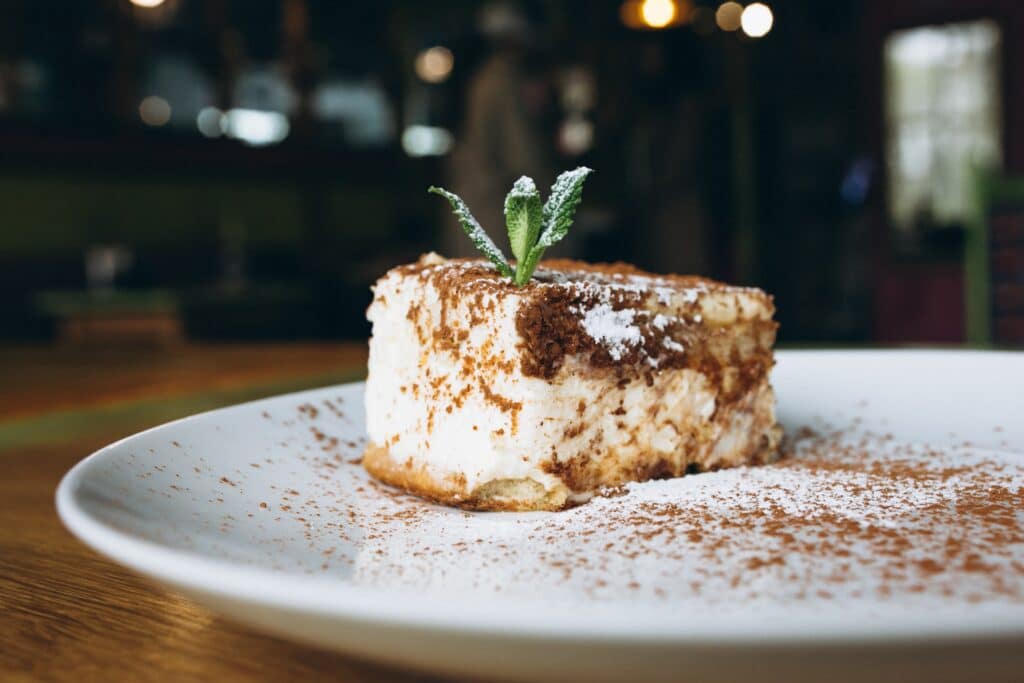
This can produce delicious-tasting dark black chocolate that is filled with antioxidants and can help improve heart health (in moderation). It is always good to know that Peppermint Tart not only tastes like love but also offers an assist or two while at it.
Ingredients
- 200g digestive biscuits
- 100g butter, melted
- 150g white chocolate, chopped
- 200ml double cream
- One teaspoon of peppermint extract
- Grated dark chocolate to top (50g)
Instructions:
- Prepare the Base:
- Crush the biscuits: Use a food processor or a rolling pin to crush digestive biscuits into fine crumbs.
- Mix with butter: Add melted butter to the crumbs and mix until well combined.
- Press into tin: Press the mixture into a 9-inch tart tin, making sure to cover the base and sides.
- Chill: Refrigerate for at least 30 minutes to set.
2. Make the Peppermint Filling:
- Heat the cream: Warm the double cream in a saucepan until it’s almost boiling.
- Melt the chocolate: Remove the pan from the heat and add chopped white chocolate and peppermint extract. Stir until smooth and creamy.
- Pour over the base: Pour the chocolate mixture over the chilled biscuit base.
- Chill: Refrigerate for at least 2 hours or until set.
3. Garnish and Serve:
- Add the final touch: Sprinkle-grated dark chocolate over the set tart.
- Slice and serve: Cut into slices and serve chilled.
Enjoy your delicious homemade peppermint crisp tart!
Why You’ll Love This Peppermint Crisp Tart Recipe
Lusciously No-Bake: Great for when you want a show-stopping dessert without the oven.
Simply festive and refreshing – Peppermint is great for a holiday or even just as a treat any time of year.
Simple: It uses basic ingredients and very easy steps to make this bread, so you can easily bake it even if you are not a regular baker or a beginner.
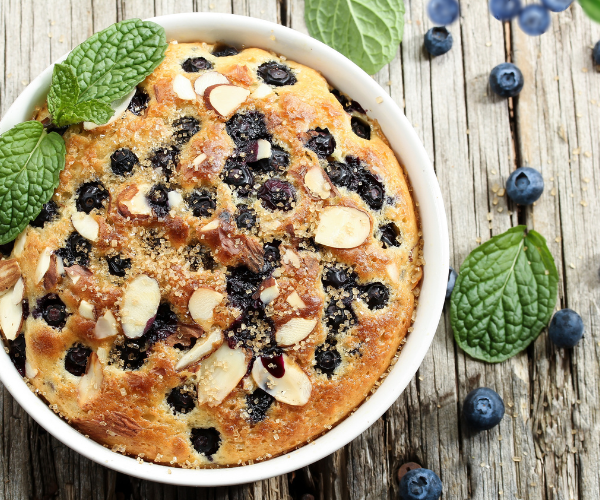
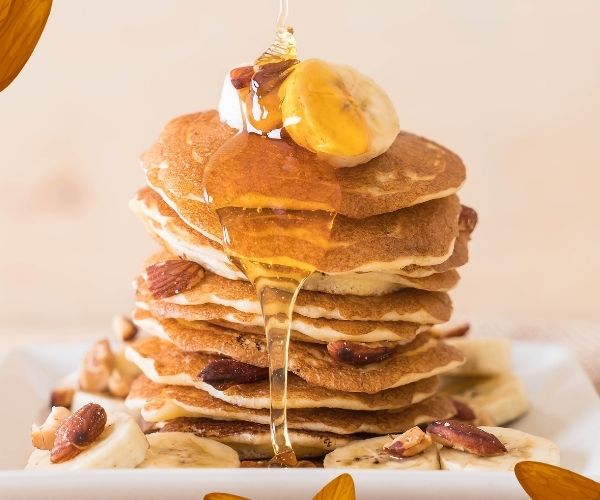
Perfect Pairing: Serve this tart with a cup of coffee or tea, or pair it with an Almond Butter Pancake Recipe for a delightful breakfast or brunch.
A Deliciously Easy peppermint crisp tart
I love this Peppermint Tart recipe because it’s easy to follow, even for beginners like me. Crushing biscuits and melting chocolate was nostalgic and fun. The final result was impressive and perfect for sharing with friends and family.
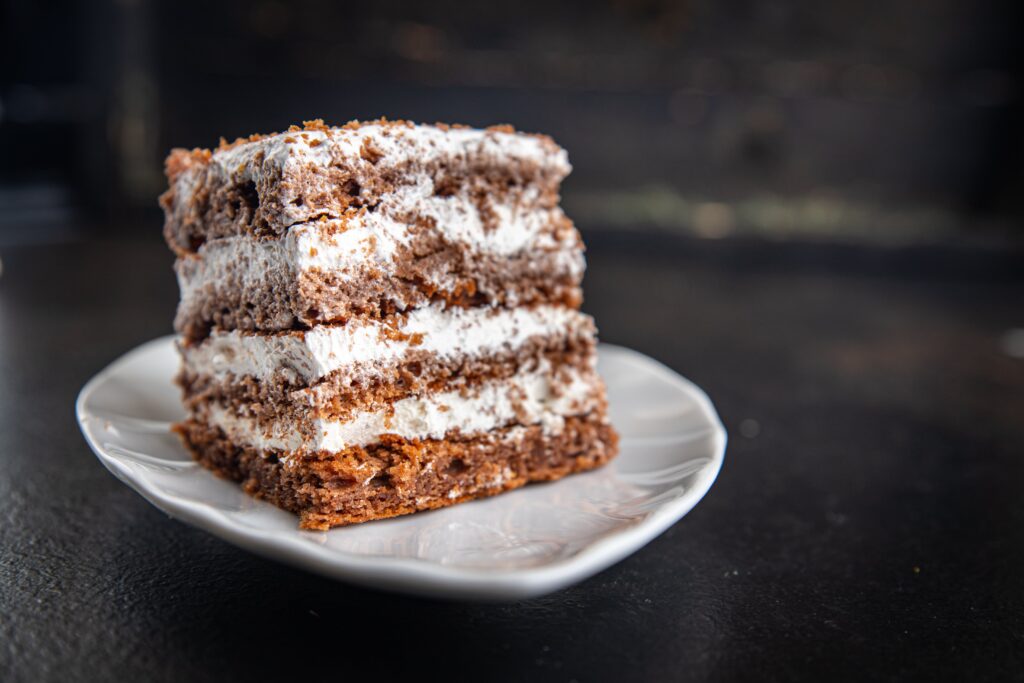
Want more easy dessert recipes? Check out our Vegan Almond Butter Pancakes or Chocolate Chip Cookies recipes.
Chefzakcooking Serving Suggesstions
A Cherry on Top: Garnish the tart with fresh raspberries or strawberries, which are bright accents and perfect fruity hints for mint chocolate.
Peppermint bark topping: Crush some peppermint bark and sprinkle it over the tart for extra festive flair. This gives the tart a crunch and makes it even more peppermint-flavoured.
Sprinkle some finely chopped toasted nuts, such as almonds or hazelnuts, over the top of the tart for a crunchy texture (optional).
Mint Chocolate Chips: Stir mint chocolate chips into the white chocolate filling or sprinkle it on top for another layer of refreshing, minty goodness.
Variation of the Base: To introduce more flavour hints in your base, you could even substitute graham biscuits or Oreo cookies for digestive biscuits. It basically follows the same steps to crush and mix with melted butter.
Want more delicious cookie recipes? Check out our recipe for Salt Cookies.
Conclusion
This Peppermint Crisp Tart is a stunning and delicious dessert that’s perfect for any occasion. Its simple yet elegant presentation, combined with its delightful flavour, makes it a crowd-pleaser. Whether you’re a seasoned baker or a novice in the kitchen, this recipe is easy to follow and yields impressive results.
So, the next time you’re looking for a festive and delicious dessert, give this Peppermint Crisp Tart a try. You won’t be disappointed!

I get asked a lot, Can I use another type of biscuit for the base?
Of course, you can replace the digestive biscuits with more graham crackers (or Oreo biscuit or any favorite ones that fit your taste). Crush the biscuits of your choice, mix them with some melted butter (until it looks like wet sand). Transfer to the base of your tart tin, pressing down firmly until you have an even layer that covers the bottom and slightly up the sides if desired.
How long can I keep the Peppermint Tart?
Peppermint Tart can be kept in the refrigerator, well covered for 3-4 days. Make sure that it is well-wrapped to avoid soaking up any odors from the fridge. Do not keep opening the container; for best taste and consistency consume the tart within a few hours, just as intended.
How to Make This Tart in Advance
PUB QUIZ ANSWER: Yes, this tart is totally make-ahead-friendly. If you let it sit, the flavors come together nicely – just wait to do your garnish until right before serving. Make Ahead: Prepare through garnishing; instead of serving, cover tart tightly and refrigerate. Garnish with any dustings before serving to preserve the freshness and looks.
How would you make this dairy-free tart?
Can I use a dairy-free substitute like Lilydale Double Cream or Normel Plant-Based Avocado and Cauliflower? So you will want to pick up a non-dairy white chocolate for the best results that melts well. Make sure all your other ingredients, even any extras you’re adding as a garnish at the end are dairy-free too so that it is consistent and doesn’t contain allergens.
Can I just double the recipe to put together a kind of giant tart?
You can definetely multiply these amounts by 2.5 or even make a double recipe for larger tarts, as shown on the photos here! However, be sure that your tart tin or tins are small enough to sit in the fridge to set. If scaling up the recipe, be sure to scale everything evenly and account for longer chilling times if needed until tart sets properly.
More musing: but if I have no peppermint extract?
If you have peppermint oil, that will work too but be sure to use it sparingly as the intensity of flavor is much stronger. Add 2-3 drops, taste after each down to keep it from getting too salty. You might also try the same sprinkling a little bit of crushed peppermint candy into your melted white chocolate to add flavor and a little texture. Hope the candy is thoroughly crushed to a fine powder so that way you are able to get mint in every single bite.
Can the tart be frozen?
Can we freeze the Peppermint Tart? Seal it well with cling film and foil to avoid freezer burn. It can be frozen for up to 1 month. To serve, defrost in the refrigerator overnight. For maintaining the texture and flavor, do not defrost the tart at room temperature. Defrost it and then put in the fridge for a few hours before serving to let the ice cream chill.
peppermint crisp tart
Prep Time: 2 hours
Cook Time: 10 minutes
Total Time:
2Hours10Min
Yield: 8-10 servings
Course:Dessert,
Level: Easy
Cuisine: South African
4.9 from 37 reviews
Ingredients:
- Let’s make the Lemon Cheesecake 200g digestive biscuits (or Graham crackers)
- 100g unsalted butter, melted
- 300ml double cream (or add a dessert spoon xanthan gum to Mascarpone + 250g tub oe) or replace with coconut cream for dairy-free
- Bar of white chocolate (or dairy-free equivalent) 300g
- 1 teaspoon peppermint extract (a few drops of peppermint oil)
- Garnish Ideas: Shaved dark chocolate Crushed Peppermint Candies
Instructions:
Prepare the Base:
- Crush the digestive biscuits
- In a mixing bowl, mix the crumbs along with melted butter.
- Evenly press the mixture and align at 1cm/s on a tart pan base.
Make the Filling:
- Method Heat double cream in a pan over medium heat until starts to simmer.
- Remove from heat and stir in the white chocolate. Mix well but just enough to melt the chocolate and for a smooth consistency.
- Place in peppermint extract.
Assemble the Tart:
- To biscuit base tip the peppermint chocolate mixture over.
- You will add the butter to this so do take your spatula and smooth it out a bit.
Chill:
- Chill the tart in the fridge for 4 hours or until firm.
Garnish:
- To serve, garnish the tart with shavings of dark chocolate or crushed peppermint candies.
Nutrional information
The Nutritional Information I am giving you the approximation for 1 serving. (We hopefully portioned them, and there are actually going to be maybe even up to 8!)
Calories: 450 |Total Fat: 30g |Saturated Fat: 18g |Trans Fat: 0g |Cholesterol: 75mg |Sodium: 150mg,|Total Carbohydrates: 40g |Dietary Fiber: 2g |Sugars: 30g |Protein: 5g |Vitamin D: 0.1µg |Calcium: 100mg ||Iron: 1mg |Potassium: 240mg
Note: Nutrition information is estimated and varies based on the ingredients or brands used. If you have dietary questions or are making this recipe I recommend using online nutritional calculators to get a more accurate estimate based on the products and quantity of each product that you use.


